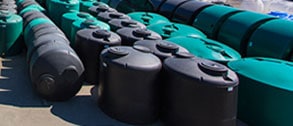
Above ground and below ground water & septic tanks Plastic Water Tanks & Septic Tanks
1.800.661.4473 (CAN & USA)
Sign Up for Our Newsletter

Our unique Butterfly Rib™ design resists vertical and horizontal ground pressure.
Learn More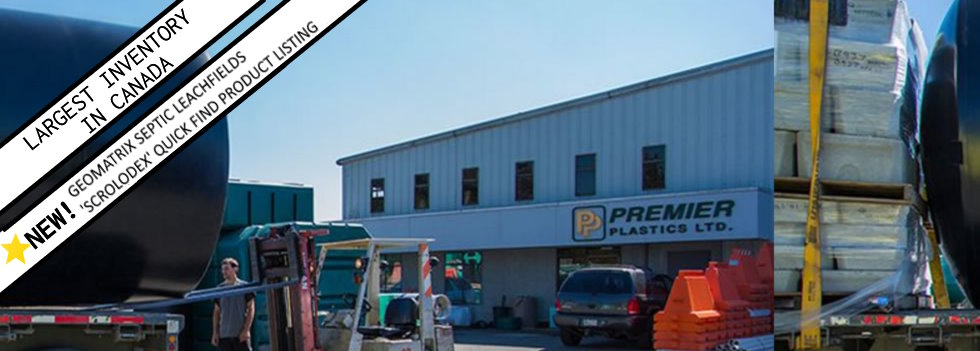
We manufacture water/chemical tank styles for above and below ground installations.
Learn More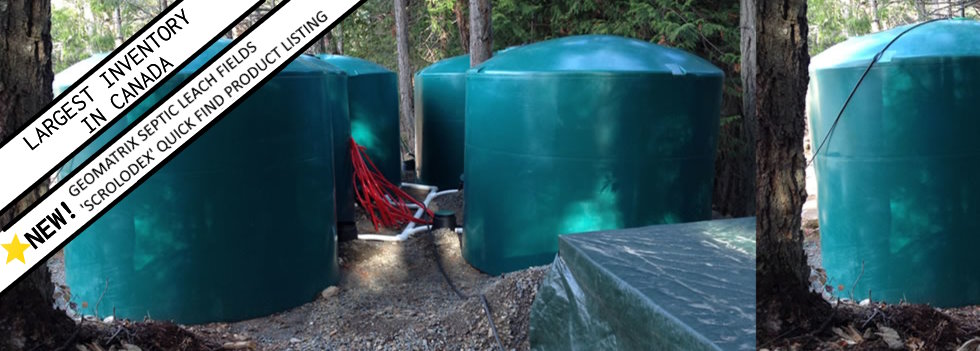
Natural water source storage solutions for conservation minded urban residents.
Learn More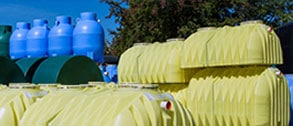
The unique Butterfly Ribs™ are unparalleled in ability to resist vertical and horizontal ground pressure. The series of short, flat, triangular surfaces keep the direction of forces in line with each rib, thus substantially increasing stiffness compared with curved rib tanks.
Premier water holding tanks are fabricated from high quality food grade polyethylene, and are UV stable, rugged one piece construction and impact resistant. Our tanks are CSA and ANSI/NSF approved for drinking water and offer an easy-to-install solution to your water storage or rain harvesting needs.
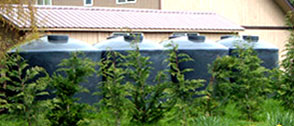
Rainwater harvesting is increasingly popular with cabin and cottage owners, conservation minded urban residents, and people who want a more natural source of water. Here you will find installation guides, product guides, information and useful links.
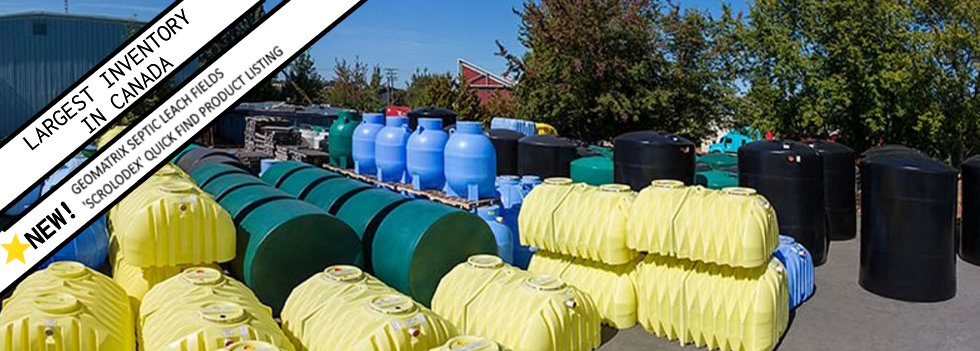
Premier Plastics Inc. has over 20 years of experience manufacturing light weight, high strength, and corrosion free polyethylene plastic septic tanks, water storage tanks and accessories.
Our plastic tanks are manufactured to the highest engineering standards, guaranteeing quality and reliability in every product.
Regulation septic tanks are CSA certified for up to four feet of soil cover. All water tanks are CSA and ANSI/NSF 61 certified for drinking water, are ultraviolet stable, environmentally safe and fully recyclable.
Contact the factory for certification in other jurisdictions.
Premier tanks can be fully recycled.
Above ground tanks are warranted for 8 years, below ground tanks for 10 years. A much longer life span can be expected.
Select the tank(s) that will suit your needs from our comprehensive range of sizes and styles.
ALL DIMENSIONS AND WEIGHTS ARE APPROXIMATE.
IF YOU HAVE SPECIFIC INSTALLATION RESTRICTIONS PLEASE CONTACT THE FACTORY.
Look for the PREMIER label of quality: PREMIER PLASTICS – ‘Good Solid Tanks’